目次
はじめに
今回の目標
プロジェクト作成
画面の準備
録音処理の実装
今回のコード
次回予告
参考ページ
はじめに
この連載では、英語の文字起こし(音声を文字に変換する)を行うiOSのツール作成について複数回に分けて作成して行きます。
最終的な機能としては録音機能、録音した音声の英語文字起こし(txtファイルとして保存)、再生機能、再生中に保存されたファイルの表示を予定しています。作成したアプリは、App Storeに登録するところまでを目標としています。その際は登録等の手順についてもご紹介できれば、と思っています。
- 使用している開発環境
Xcode9.2
Swift3
今回の目標
今回はプロジェクトの作成の部分から、UIの準備や録音機能の部分を実装していきます。
プロジェクト作成
まずはプロジェクトの作成から行なっていきます。
この連載で開発するアプリは画面遷移を発生させない予定なので
テンプレートはSingleApplicationを利用します。
プロジェクト名は「TranscriptionApp」とします。

またstoryboardと呼ばれるものを使用することでSwiftアプリのUIをコードではなく、
コントロールの配置や連携をマウス操作で作成できるのですが
動的な変更を加える際に結局コードを書くことが必要になるのでこの連載では使用しません。
info.plistファイルから「Main stroyboard file base …」の列を削除します。
AppDelegate.swiftにコードを追記します。
 func application(_ application: UIApplication, didFinishLaunchingWithOptions launchOptions: [UIApplicationLaunchOptionsKey: Any]?) -> Bool {
        // Override point for customization after application launch.
        window = UIWindow(frame: UIScreen.main.bounds)
        let vc = ViewController()
        window?.rootViewController = vc
        window?.makeKeyAndVisible()
        return true
    }
これで一旦エラーが出ないかデバックしてみます。
問題がなければシミュレータが起動し、黒い画面が表示されます。
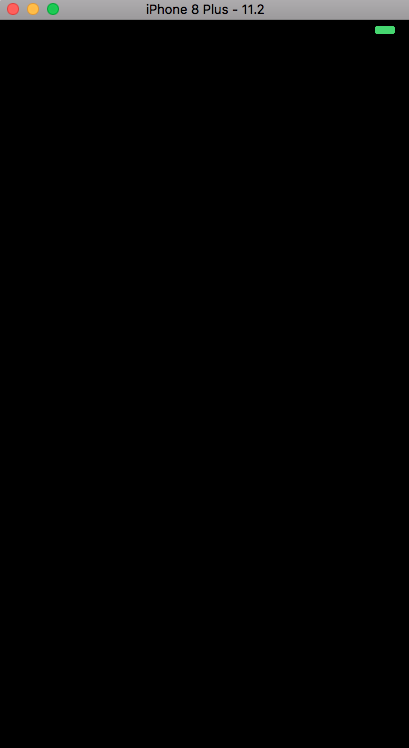
個人的に黒背景は見づらいと感じましたので背景を白にしておきます。
以下のようにViewController.swiftの中のviewDidLoad内に記載します。
override func viewDidLoad() {
        super.viewDidLoad()
        self.view.backgroundColor = UIColor.white

        // Do any additional setup after loading the view, typically from a nib.
    }
この後はコードはViewController.swiftに追記していきます。
画面の準備
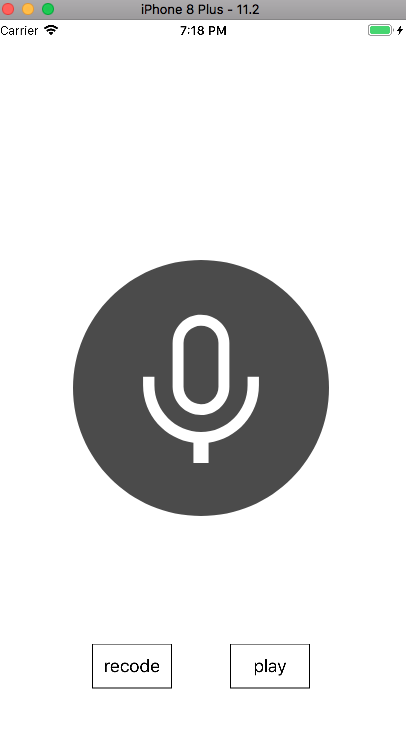
次にUI周りを実装していきます。
イメージとしては以下の感じです。
まず中央に表示する画像を用意します。
画像については以下のサイトにあるものを、色など変更し使用しました。
http://icooon-mono.com/
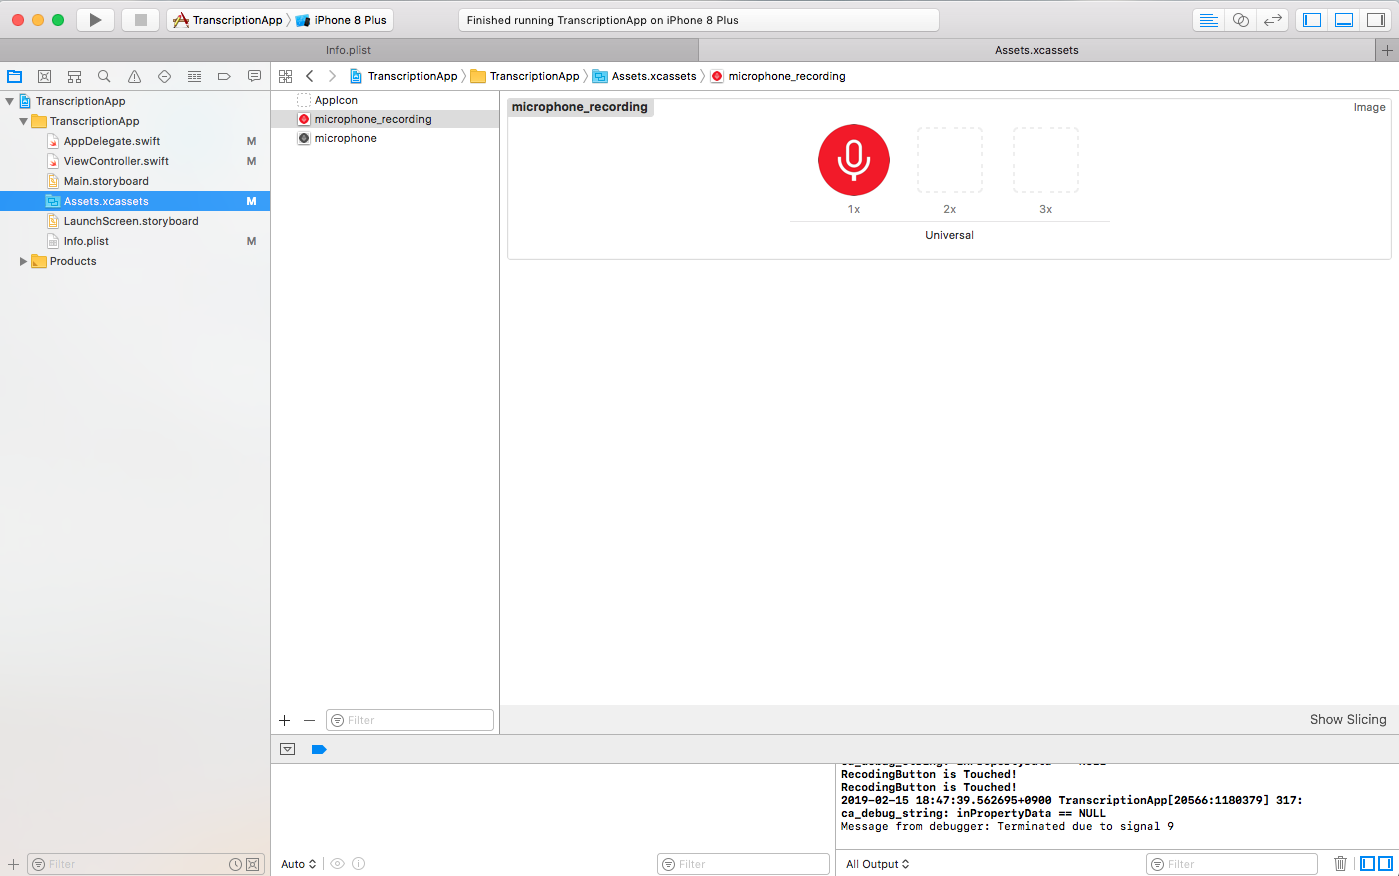
画像が用意できましたら、左のファイル一覧からAssets.xcassetsをクリックし用意した画像をドラッグします。
ここでは画像の名前を「microphone」とします。
同様に同じ画像の赤色のものをAssets.xscassetsにドラッグします。
この画像の名前は「microphone_recoding」としておきます。
次に画像とボタンを配置していきます。
まずはViewControllerクラス内に画像を表示するImageViewと各ボタンの変数の宣言と
viewDidLoad関数内で表示する画像とそれぞれの表示位置を指定します。
class ViewController: UIViewController {
        // 変数宣言
    var currentStatusImage : UIImageView!
    var recordingButton : UIButton!
    var playingButton : UIButton!

    override func viewDidLoad() {
        super.viewDidLoad()
        self.view.backgroundColor = UIColor.white

        // 画像やボタンの初期化
        // マイク画像(名前は先ほど画像をプロジェクトに登録したものを指定する)
        currentStatusImage = UIImageView(image: UIImage(named: "microphone"))
        // マイクボタンの位置
        currentStatusImage.center = CGPoint(x: self.view.bounds.width / 2, y: self.view.bounds.height / 2)

        // 録音ボタン
        recodingButton = UIButton(frame: CGRect(x: 0, y: 0, width: 80, height: 45))
        // 録音ボタンの見た目
        recodingButton.setTitle("recode", for: .normal)
        recodingButton.setTitleColor(UIColor.black, for: .normal)
        recodingButton.layer.borderWidth = 1
        recodingButton.layer.borderColor = UIColor.black.cgColor// 録音ボタンの位置
        recodingButton.center = CGPoint(x: self.view.bounds.width / 3, y: self.view.bounds.height - 90)
        recodingButton.addTarget(self, action: #selector(TouchRecodingButton), for: .touchUpInside)

        // 再生ボタン
        playingButton = UIButton(frame: CGRect(x: 0, y: 0, width: 80, height: 45))
        // 再生ボタンの見た目
        playingButton.setTitle("recode", for: .normal)
        playingButton.setTitleColor(UIColor.black, for: .normal)
        playingButton.layer.borderWidth = 1
        playingButton.layer.borderColor = UIColor.black.cgColor
        // 再生ボタンの位置
        playingButton.center = CGPoint(x: self.view.bounds.width * 2 / 3, y: self.view.bounds.height - 90)
        playingButton.addTarget(self, action: #selector(TouchPlayingButton), for: .touchUpInside)

         // Viewに追加
        self.view.addSubview(currentStatusImage)
        self.view.addSubview(recordingButton)
        self.view.addSubview(playingButton)


        // Do any additional setup after loading the view, typically from a nib.
    }

    // 録音ボタンをタッチ
    @objc func TouchRecodingButton() {
        print("RecodingButton is Touched!")

    }

    // 再生ボタンをタッチ
    @objc func TouchPlayingButton() {
        print("PlayingButton is Touched!")

    }
        ・
        ・
        ・
}
録音処理の実装
次に録音機能を実装していきます。
録音機能自体はAVAudioRecorderクラスを使用すれば簡単に実装できます。
まずはファイル上部のusing UIKitの下にusing AVFoundationと追記します。
これでオーディオ関連のクラスを使用できるようになります。
using UIKit
using AVFoundation
次にAVAudioRecorderクラスの変数とその初期化処理を実装します。
ただ録音は録音ボタンをタッチされた際に開始したいのでTouchRecodingButton関数に書いていきます。
        // 変数宣言
    var currentStatusImage : UIImageView!
    var recordingButton : UIButton!
    var playingButton : UIButton!
    var avAudioRecoder : AVAudioRecorder!

        ・
        ・
        ・

    // 録音ボタンをタッチ
    @objc func TouchRecordingButton() {
        print("RecodingButton is Touched!")

        // 録音開始前にOSにマイクを使用することを伝える
        let session = AVAudioSession.sharedInstance()
        try! session.setCategory(AVAudioSessionCategoryRecord)
        try! session.setActive(true)

        // 録音ファイルの保存先
        var folderPaths = FileManager.default.urls(for: .documentDirectory, in: .userDomainMask)
        var filePath = folderPaths[0].appendingPathComponent("recorded.m4a")

        // オーディオ設定
        let setting = [
            AVFormatIDKey : Int(kAudioFormatMPEG4AAC),
            AVSampleRateKey : 44100,
            AVNumberOfChannelsKey : 2
        ]

        // 録音クラスの作成と録音開始
        avAudioRecorder = try! AVAudioRecorder(url: filePath, settings: setting)
        avAudioRecorder.record()
    }
これで録音を開始できます。
気を付ける点としましては録音開始までにAVAudioSessionでOSにマイクを使用することを伝える必要があります。
またオーディオ設定では録音後に生成されるファイルの形式やサンプルレート、チャネル数を設定しています。
ただこれだけでは録音の停止が出来ないので同じボタンで録音を停止できるようにします。
そのために現在が録音中かどうかの判断するフラグを用意します。
    // 変数宣言
    var currentStatusImage : UIImageView!
    var recordingButton : UIButton!
    var playingButton : UIButton!
    var avAudioRecoder : AVAudioRecorder!
    var isPlaying : Bool = false

        ・
        ・
        ・

    // 録音ボタンをタッチ
    @objc func TouchRecordingButton() {
        print("RecodingButton is Touched!")
        // 録音を開始するかチェック
        if (!isPlaying) {

            // 録音開始前にOSにマイクを使用することを伝える
            let session = AVAudioSession.sharedInstance()
            try! session.setCategory(AVAudioSessionCategoryRecord)
            try! session.setActive(true)

            // 録音ファイルの保存先
            var folderPaths = FileManager.default.urls(for: .documentDirectory, in: .userDomainMask)
            let filePath = folderPaths[0].appendingPathComponent("recorded.m4a")

            // オーディオ設定
            let setting = [
                AVFormatIDKey : Int(kAudioFormatMPEG4AAC),
                AVSampleRateKey : 44100,
                AVNumberOfChannelsKey : 2
            ]

            // 録音クラスの作成と録音開始
            avAudioRecorder = try! AVAudioRecorder(url: filePath, settings: setting)
            avAudioRecorder.record()

            // 表示を変更
            currentStatusImage.image = UIImage(named: "microphone_recording")
            recordingButton.setTitle("stop", for: .normal)
            isPlaying = true

        } else {

            // 録音ファイルの保存先
            avAudioRecorder.stop()

            // 録音停止後にOSに録音を終えたことを伝える
            let session = AVAudioSession.sharedInstance()
            try! session.setActive(false)


            // ボタンの表示を変更
            currentStatusImage.image = UIImage(named: "microphone")
            recordingButton.setTitle("record", for: .normal)
            isPlaying = false

        }
    }
これで録音まで出来るようになったので実際にデバックを行なってみます。
録音機能の実装まで出来たので今回はここまでとします。
今回のコード
ViewController.swift
//
//  ViewController.swift
//  TranscriptionApp


import UIKit
import AVFoundation

class ViewController: UIViewController {

    // 変数宣言
    var currentStatusImage : UIImageView!
    var recordingButton : UIButton!
    var playingButton : UIButton!
    var avAudioRecorder : AVAudioRecorder!
    var isPlaying : Bool = false

    override func viewDidLoad() {
        super.viewDidLoad()
        self.view.backgroundColor = UIColor.white

        // 画像やボタンの初期化
        // マイク画像
        currentStatusImage = UIImageView(image: UIImage(named: "microphone"))
        // マイクボタンの位置
        currentStatusImage.center = CGPoint(x: self.view.bounds.width / 2, y: self.view.bounds.height / 2)

        // 録音ボタン
        recordingButton = UIButton(frame: CGRect(x: 0, y: 0, width: 80, height: 45))
        // 録音ボタンの見た目
        recordingButton.setTitle("recode", for: .normal)
        recordingButton.setTitleColor(UIColor.black, for: .normal)
        recordingButton.layer.borderWidth = 1
        recordingButton.layer.borderColor = UIColor.black.cgColor
        // 録音ボタンの位置
        recordingButton.center = CGPoint(x: self.view.bounds.width / 3, y: self.view.bounds.height - 90)
        recordingButton.addTarget(self, action: #selector(TouchRecordingButton), for: .touchUpInside)

        // 再生ボタン
        playingButton = UIButton(frame: CGRect(x: 0, y: 0, width: 80, height: 45))
        // 再生ボタンの見た目
        playingButton.setTitle("play", for: .normal)
        playingButton.setTitleColor(UIColor.black, for: .normal)
        playingButton.layer.borderWidth = 1
        playingButton.layer.borderColor = UIColor.black.cgColor
        // 再生ボタンの位置
        playingButton.center = CGPoint(x: self.view.bounds.width * 2 / 3, y: self.view.bounds.height - 90)
        playingButton.addTarget(self, action: #selector(TouchPlayingButton), for: .touchUpInside)


        // Viewに追加
        self.view.addSubview(currentStatusImage)
        self.view.addSubview(recordingButton)
        self.view.addSubview(playingButton)

        // Do any additional setup after loading the view, typically from a nib.
    }

    // 録音ボタンをタッチ
    @objc func TouchRecordingButton() {
        print("RecodingButton is Touched!")
        // 録音を開始するかチェック
        if (!isPlaying) {

            // 録音開始前にOSにマイクを使用することを伝える
            let session = AVAudioSession.sharedInstance()
            try! session.setCategory(AVAudioSessionCategoryRecord)
            try! session.setActive(true)

            // 録音ファイルの保存先
            var folderPaths = FileManager.default.urls(for: .documentDirectory, in: .userDomainMask)
            let filePath = folderPaths[0].appendingPathComponent("recorded.m4a")

            // オーディオ設定
            let setting = [
                AVFormatIDKey : Int(kAudioFormatMPEG4AAC),
                AVSampleRateKey : 44100,
                AVNumberOfChannelsKey : 2
            ]

            // 録音クラスの作成と録音開始
            avAudioRecorder = try! AVAudioRecorder(url: filePath, settings: setting)
            avAudioRecorder.record()

            // 表示を変更
            currentStatusImage.image = UIImage(named: "microphone_recording")
            recordingButton.setTitle("stop", for: .normal)
            isPlaying = true

        } else {

            // 録音ファイルの保存先
            avAudioRecorder.stop()

            // 録音停止後にOSに録音を終えたことを伝える
            let session = AVAudioSession.sharedInstance()
            try! session.setActive(false)


            // ボタンの表示を変更
            currentStatusImage.image = UIImage(named: "microphone")
            recordingButton.setTitle("record", for: .normal)
            isPlaying = false

        }
    }

    // 再生ボタンをタッチ
    @objc func TouchPlayingButton() {
        print("PlayingButton is Touched!")

    }

    override func didReceiveMemoryWarning() {
        super.didReceiveMemoryWarning()
        // Dispose of any resources that can be recreated.
    }


}
AppDelegate.swift
 func application(_ application: UIApplication, didFinishLaunchingWithOptions launchOptions: [UIApplicationLaunchOptionsKey: Any]?) -> Bool {
        // Override point for customization after application launch.
        window = UIWindow(frame: UIScreen.main.bounds)
        let vc = ViewController()
        window?.rootViewController = vc
        window?.makeKeyAndVisible()
        return true
    }
あとはInfo.plistも更新しております。
次回予告
次回は再生処理の実装を行います。
参考ページ
[iOS]ボイスレコーダーアプリを作る
https://qiita.com/army_sh/items/946aa15263a6d087a99c
icooon mono
http://icooon-mono.com/