目次
前回の振り返り
Apache初期設定
VirtualHost設定
mod_sslのインストール
第4回のまとめ
前回の振り返り
前回はfirewalldでhttp、httpsの許可設定をおこない、epelリポジトリとremiリポジトリのインストール、Apache2.4.38、php73のインストールをおこないました。今回はインストールしたミドルウェアの設定をおこなっていきたいと思います。
Apache初期設定
インストールしたApacheがWebブラウザで表示されるように初期設定をします。
まずは 証明書用ディレクトリや公開用ディレクトリの作成と httpd.conf の設定を修正します。
[root@localhost ~]# mkdir -p /etc/httpd/ssl
[root@localhost ~]# chown apache:apache /etc/httpd/ssl
すでにSSL証明書があれば「/etc/httpd/ssl」に格納しておきます。(秘密鍵と証明書、中間CA証明書の3つが必要です。)
- www.example.com.crt (証明書)
- www.example.com.key (秘密鍵)
- www.example.com.cer (中間CA証明書)
※ 秘密鍵にパスフレーズがかかっている場合は事前に解除しておきましょう。
次に公開ディレクトリを作成しテスト用のhtmlを配置しておきます。
[root@localhost ~]# mkdir -p /var/www/www.example.com/htdocs
[root@localhost ~]# echo "TEST PAGE" > /var/www/www.example.com/htdocs/index.html
[root@localhost ~]# chown -R apache:apache /var/www/www.example.com/htdocs
続いてApacheの設定を弄ります。
httpd.conf の95行目付近に「ServerName」という設定項目があり、デフォルトでコメントアウトされているのですがバックアップを取った上で修正をします。
[root@localhost ~]# cp /etc/httpd/conf/httpd.conf /etc/httpd/conf/httpd.conf.org
[root@localhost ~]# vi /etc/httpd/conf/httpd.conf
#ServerName www.example.com:80
ServerName localhost:80
また、最終行付近に「IncludeOptional」ディレクティブが有効になっているか確認します。
IncludeOptional conf.d/*.conf
デフォルトで有効になっていました。
Virtual Host に設定を書く
WordPressサイトを増やすことも想定して今回は Virtual Hostという方法の設定でいこうと思います。
各ドキュメントルート用のディレクトリを作成し、Virtual Host用のApacheの設定ファイルを作成します。
今回は作成例として「www.example.com」という、いかにもな名前のサイトをプライベート環境で作成します。
[root@localhost ~]# vi /etc/httpd/conf.d/www.example.conf
<VirtualHost *:80>
  ServerName www.example.com
  ServerAdmin webmaster@example.com
  DocumentRoot /var/www/www.example.com/htdocs/
  ErrorLog logs/www.example.com-error_log
  LogLevel warn
  LogFormat "%h %l %u %t \"%r\" %>s %b \"%{Referer}i\" \"%{User-Agent}i\"" combined
  LogFormat "%h %l %u %t \"%r\" %>s %b" common
  LogFormat "%{Referer}i -> %U" referer
  LogFormat "%{User-agent}i" agent
  CustomLog /var/log/httpd/www.example.com-access_log combined env=!image-request
  <Directory "/var/www/www.example.com/htdocs/">
    DirectoryIndex index.php index.hml
    Options Indexes FollowSymLinks
    AllowOverride All
    <RequireAll>
      Require all granted
    </RequireAll>
  </Directory>
</VirtualHost>

<VirtualHost *:443>
 ServerName www.example.com:443
 ServerAdmin webmaster@example.com
 DocumentRoot "/var/www/www.example.com/htdocs"
 ErrorLog logs/www.example.com-ssl-error_log
 TransferLog logs/www.example.com-ssl-access_log
 LogLevel warn
 LogFormat "%h %l %u %t \"%r\" %>s %b \"%{Referer}i\" \"%{User-Agent}i\"" combined
 LogFormat "%h %l %u %t \"%r\" %>s %b" common
 LogFormat "%{Referer}i -> %U" referer
 CustomLog /var/log/httpd/www.example.com-ssl-access_log combined env=!image-request
 SSLEngine on
 SSLProtocol All -SSLv2 -SSLv3 -TLSv1 -TLSv1.1
 SSLProxyProtocol All -SSLv2 -SSLv3 -TLSv1 -TLSv1.1
 SSLHonorCipherOrder On
 SSLCertificateFile /etc/httpd/ssl/www.example.com.crt
 SSLCertificateKeyFile /etc/httpd/ssl/www.example.com.key
 SSLCertificateChainFile /etc/httpd/ssl/www.example.com.cer
 <Files ~ "\.(cgi|shtml|phtml|php3?)$">
     SSLOptions +StdEnvVars
 </Files>
 <Directory "/var/www/cgi-bin">
     SSLOptions +StdEnvVars
 </Directory>
 <Directory "/var/www/www.example.com/htdocs">
   DirectoryIndex index.php index.hml
   Options Indexes FollowSymLinks
   AllowOverride All
   <RequireAll>
     Require all granted
   </RequireAll>
 </Directory>
 BrowserMatch "MSIE [2-5]" nokeepalive ssl-unclean-shutdown downgrade-1.0 force-response-1.0
 CustomLog logs/ssl_request_log "%t %h %{SSL_PROTOCOL}x %{SSL_CIPHER}x \"%r\" %b"
</VirtualHost>
※ 「<」が「&lt;」に変換されています。コピーする際はご注意ください。
一度、設定が正しく出来ているか確認します。
[root@localhost ~]# httpd -t
AH00526: Syntax error on line 31 of /etc/httpd/conf.d/www.example.conf:
Invalid command 'SSLEngine', perhaps misspelled or defined by a module not included in the server configuration
おっと、エラーが出て気づきました。SSL設定で必要なmod_ssl モジュールがインストールされておりませんでした。(mod_sslの存在を忘れがちになるのは私だけでしょうか。)
mod_sslのインストール
言い訳はさておき、yumコマンドでmod_sslをインストールします。
[root@localhost conf.d]# yum install mod_ssl --disablerepo=base --disablerepo=updates --enablerepo=ius
読み込んだプラグイン:fastestmirror, langpacks
Loading mirror speeds from cached hostfile
 * extras: ftp.tsukuba.wide.ad.jp
 * ius: hkg.mirror.rackspace.com
 * remi-safe: ftp.riken.jp
依存性の解決をしています
--> トランザクションの確認を実行しています。
---> パッケージ httpd24u-mod_ssl.x86_64 1:2.4.38-1.ius.centos7 を インストール
--> 依存性解決を終了しました。

依存性を解決しました

========================================================================================================================================================================
 Package                                     アーキテクチャー                  バージョン                                          リポジトリー                    容量
========================================================================================================================================================================
インストール中:
 httpd24u-mod_ssl                            x86_64                            1:2.4.38-1.ius.centos7                              ius                            114 k

トランザクションの要約
========================================================================================================================================================================
インストール  1 パッケージ

総ダウンロード容量: 114 k
インストール容量: 240 k
Is this ok [y/d/N]: y
Downloading packages:
httpd24u-mod_ssl-2.4.38-1.ius.centos7.x86_64.rpm                      0% [                                                            ]  0.0 B/s |
Running transaction check
Running transaction test
Transaction test succeeded
Running transaction
  インストール中          : 1:httpd24u-mod_ssl-2.4.38-1.ius.centos7.x86_64 [                                                                                      ] 1/1
  検証中                  : 1:httpd24u-mod_ssl-2.4.38-1.ius.centos7.x86_64                                                                                          1/1

インストール:
  httpd24u-mod_ssl.x86_64 1:2.4.38-1.ius.centos7

完了しました!
一度、Apacheを再起動してブラウザで表示ができるか確認してみましょう。まずはシンタックスチェックをしてから、サービスの状態の確認をします。
[root@localhost ~]# httpd -t
Syntax OK
「syntax OK」と応答すれば設定ファイルに誤字が無い状態です。あとは非推奨な書き方なんかも教えてくれたりします。書き方は合っているけど設定したい内容自体が誤っている場合は意図しない動作になるので注意が必要です。
ちなみに設定に誤字があった際は以下のようなエラーを表示してくれます。
[root@localhost httpd]# httpd -t
AH00526: Syntax error on line 56 of /etc/httpd/conf.d/www.example.conf:
Invalid command 'aaa', perhaps misspelled or defined by a module not included in the server configuration
上記のエラーはわざとwww.example.confの56行目に「aaa」という文字を記述しました。
次に現在のステータスをチェックします。「systemctl status httpd.service」もしくは「service httpd status」と入力しましょう。
[root@localhost ~]# systemctl status httpd.service
● httpd.service - The Apache HTTP Server
   Loaded: loaded (/usr/lib/systemd/system/httpd.service; disabled; vendor preset: disabled)
   Active: active (running) since 月 2019-01-28 22:29:25 JST; 1min 56s ago
     Docs: man:httpd(8)
           man:apachectl(8)
  Process: 9935 ExecStop=/bin/kill -WINCH ${MAINPID} (code=exited, status=0/SUCCESS)
  Process: 8965 ExecReload=/usr/sbin/httpd $OPTIONS -k graceful (code=exited, status=0/SUCCESS)
 Main PID: 9939 (httpd)
   Status: "Total requests: 0; Current requests/sec: 0; Current traffic:   0 B/sec"
   CGroup: /system.slice/httpd.service
           tq9939 /usr/sbin/httpd -DFOREGROUND
           tq9940 /usr/sbin/httpd -DFOREGROUND
           tq9941 /usr/sbin/httpd -DFOREGROUND
           tq9942 /usr/sbin/httpd -DFOREGROUND
           tq9943 /usr/sbin/httpd -DFOREGROUND
           mq9944 /usr/sbin/httpd -DFOREGROUND

 1月 28 22:29:25 localhost.localdomain systemd[1]: Stopped The Apache HTTP Server.
 1月 28 22:29:25 localhost.localdomain systemd[1]: Starting The Apache HTTP Server...
 1月 28 22:29:25 localhost.localdomain systemd[1]: Started The Apache HTTP Server.
Apacheが起動しているので再起動します。( graceful もしくは restart )
[root@localhost ~]# systemctl restart httpd.service
再起動が完了したら手元のブラウザで表示する前に手元のPCのHostsファイルに追記して名前解決出来るようにしておきます。
| Windows の場合 | C:\Windows\System32\drivers\etc\hosts |
| Mac の場合 | /etc/hosts |
以下の内容を追記します。(x.x.x.x はLinuxのIPアドレスに置き換えて設定してください)
x.x.x.x www.example.com
ではGoogle Chromeでアクセスしてみます。
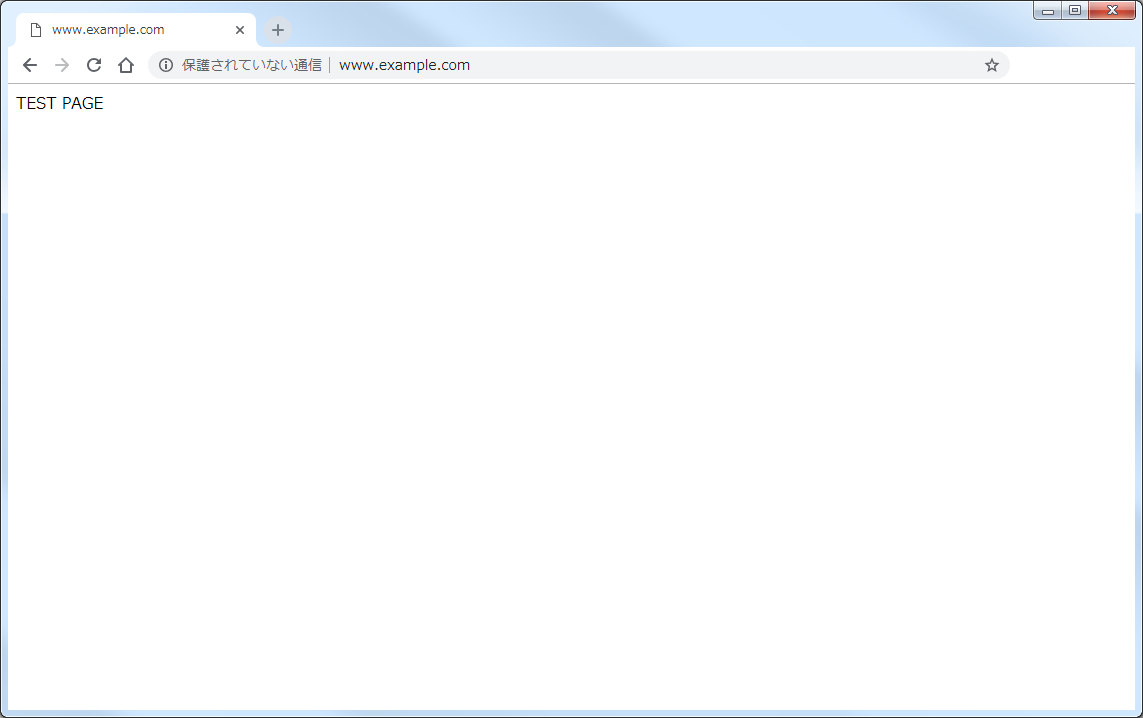
表示されました!! …でも寂しい画面ですね。
続いてPHPの設定を一覧表示したいのでphpinfo()関数を仕込んだファイルを作成します。
[root@localhost ~]# echo "<?php phpinfo(); ?>" > /var/www/www.example.com/htdocs/info.php
info.phpを作ったらアクセスしてみます。( http://www.example.com/info.php )
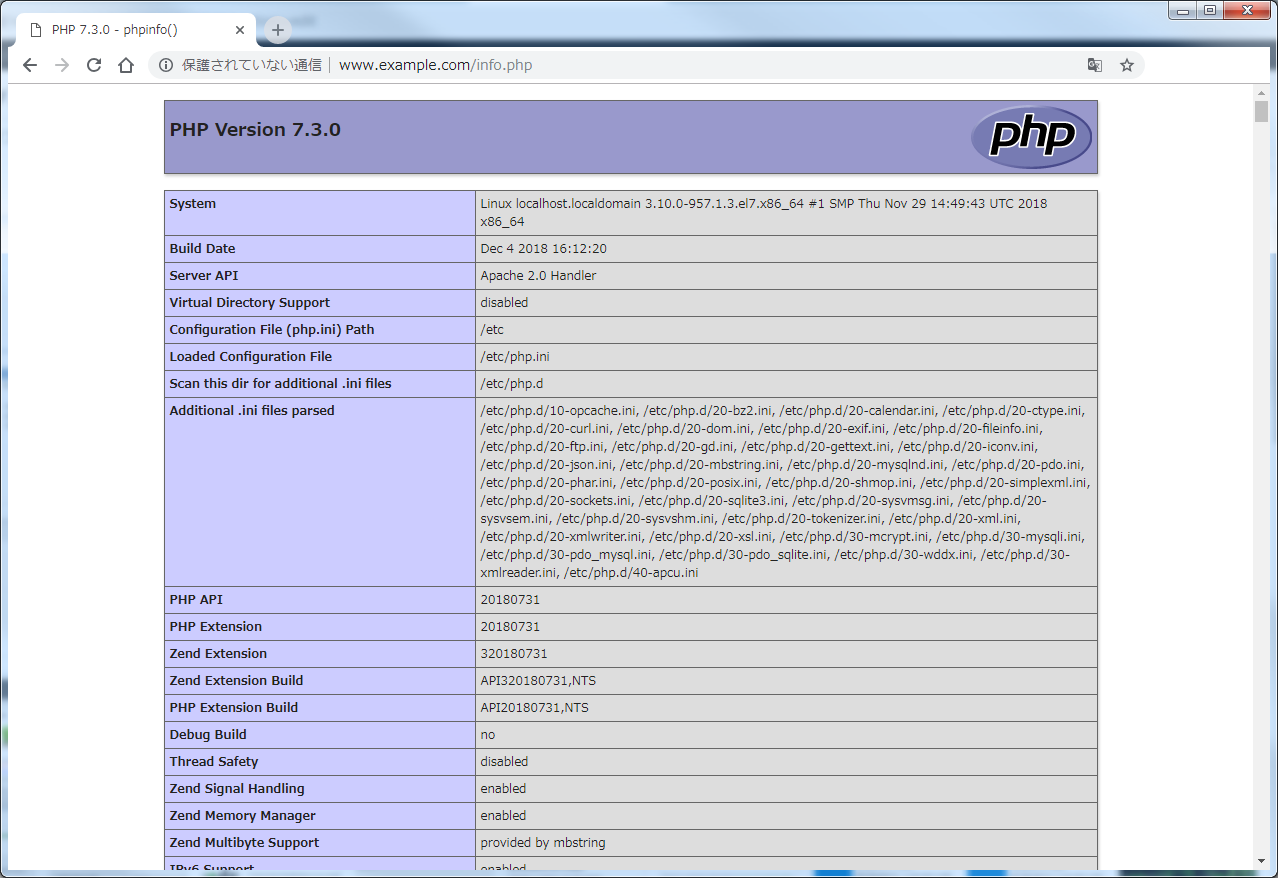
無事にPHPの設定が表示されました。
この画面は後で設定関連でエラーなどが発生した場合は足りないPHPモジュールが無いかなど確認するのに便利です。(サイトをオープンする際はこのファイルは消しておきましょう)
第4回のまとめ
今回は手元のブラウザでテストページが表示されるところまで設定をしたのと、一緒にmod_sslをインストールし SSL通信の設定もしました。
昨今はSSL暗号化通信が標準になりつつあります。
ただしSSL通信をするにはもちろんSSL証明書を購入しないといけません。(…まぁWebサイトを作成する上で必須に近い存在となってきていますよね。)
それと暗号化通信といっても脆弱性が色々と発見されており、現在ではTLS1.2を使うように設定をした方が良かったりと、よりセキュアな通信になるよう気にしなければいけないことはたくさんありそうです。
さて、次回はいよいよWordPressをインストールしたいと思います!!